
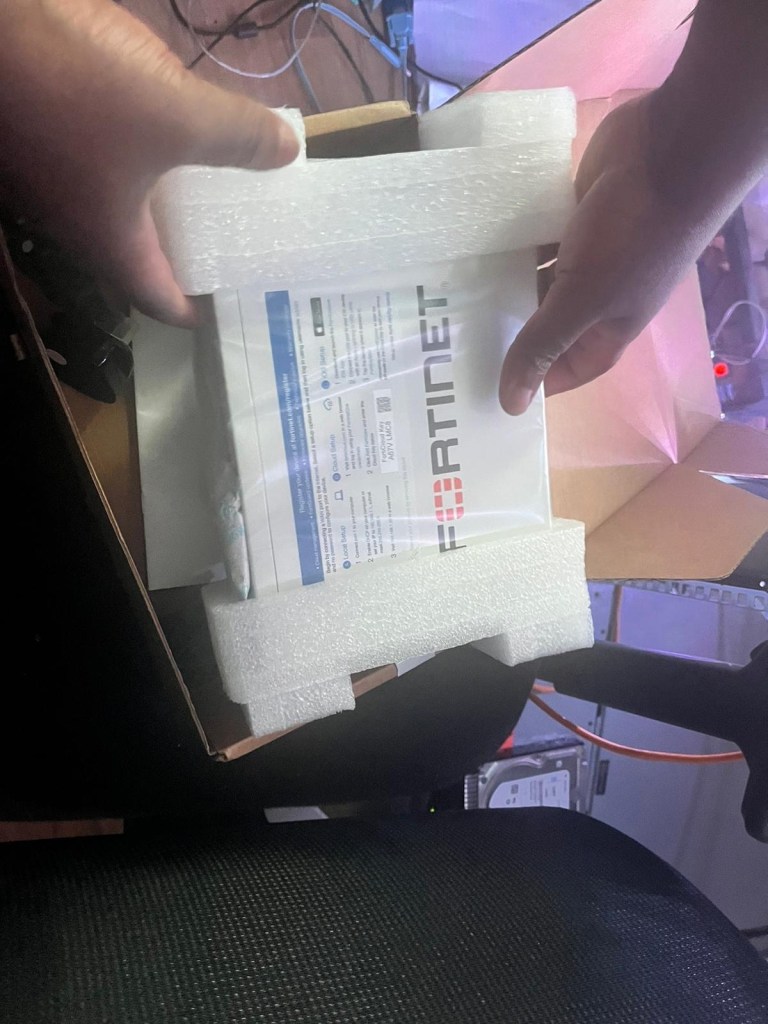
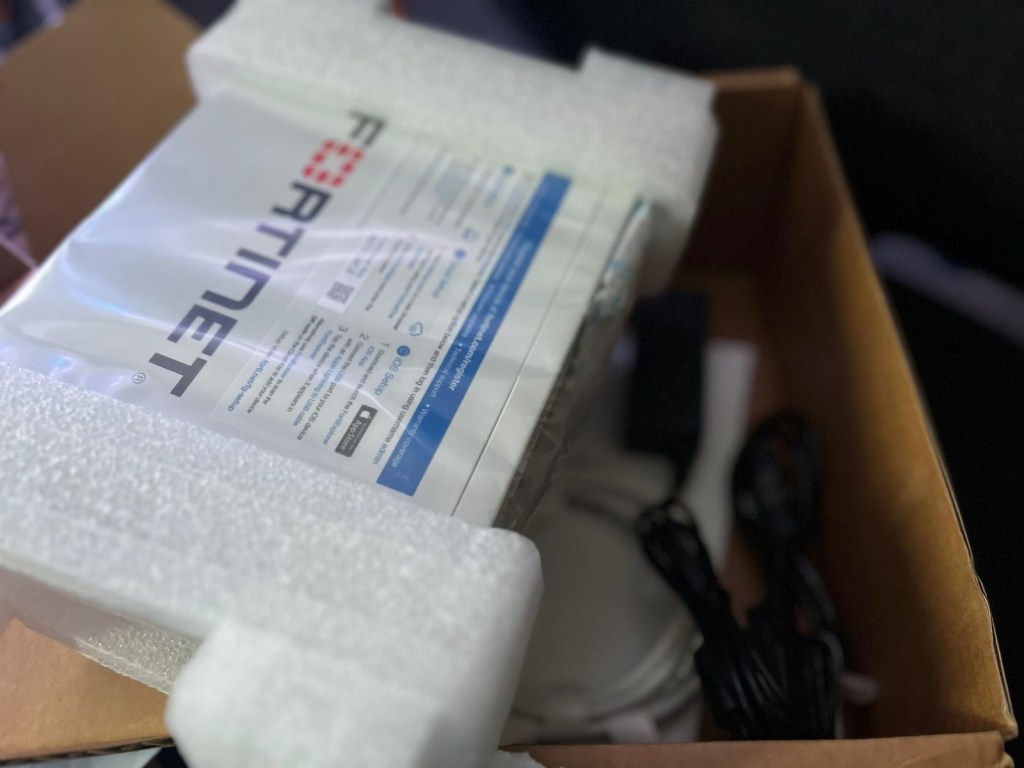
Look what I found lurking in my lab – yes it’s my fortigate 60F, brand spanking new, and I have not had time to upgrade from my old 30D.
Yes I have been that busy 😅
I’ve always had a soft spot for next-gen firewalls, and honestly, I don’t play favorites—whether it’s Palo Alto or FortiGate, a firewall nerd shouldn’t discriminate. That’s how I ended up diving deep into fortigates at one point and even tackled the beast, NSE7 network security architect exam.
Before a really long work travel I had time to upgrade my vpn from an aging 30D fortigate.
Let’s get started on the easy to follow steps, on how to setup a Remote VPN Access for your homelab! Using fortigate 60F(FortiOS7.6)
Step 1: Log in to the FortiGate
a) Open a web browser and go to the IP address of your FortiGate.
b) Log in with your admin credentials.
Step 2: Create an IPsec VPN Phase 1 Interface
a) Go to VPN > IPsec Tunnels.
b) Click on Create New > Custom VPN Tunnel.
c) Name: Enter a name for the VPN tunnel (e.g., “RA_IPsec_VPN”).
d) Template Type: Choose Remote Access.
e) Remote Device Type: Choose FortiClient VPN.
f) Interface: Select your WAN interface (e.g., WAN1) or whatever interface that’s connected to your internet – in my case it was my Home ISP router.
g) Under Authentication:
- Choose Pre-shared Key.
- Enter a pre-shared key (this key will be needed later for the client app login).
h) Under Network: - Local Gateway: Choose your WAN IP (default or manually set).
- Mode: Choose Aggressive Mode.
i) In Client Address Range: - Set a range for VPN clients (e.g.,
10.10.10.1to10.10.10.10).
j) Click Next.
Step 3: Configure Phase 2 Settings
a) In Phase 2 Selectors:
- Local Address: Use
subnet, and enter your LAN subnet (e.g.,192.168.1.0/24). - Remote Address: Use the VPN client range (e.g.,
10.10.10.1-10.10.10.10).
b) Under Encryption & Authentication: - Encryption: Choose AES-256.
- Authentication: Choose SHA256.
c) Leave other settings as default, and click Next.
Step 4: Configure Firewall Policy
a) Go to Policy & Objects > IPv4 Policy.
b) Click Create New.
c) Name: Give the policy a name (e.g., “VPN_Access”).
d) Incoming Interface: Select the VPN tunnel created.
e) Outgoing Interface: Choose your internal LAN interface (e.g., internal1).
f) Source: Select all or define VPN clients (e.g., 10.10.10.0/24). For testing purposes, I would suggest you select all – and adjust accordingly after your connection is successful.
g) Destination: Select all or specific internal subnets/devices.
h) Service: Set to all or limit to specific services (e.g., HTTP, HTTPS).
i) Action: Set to Accept.
j) NAT: Enable if needed for internal routing (typically disabled for IPsec remote access).
k) Click OK.
Step 5: Configure User Authentication
a) Go to User & Authentication > User Groups.
b) Click Create New.
c) Name: Enter a group name (e.g., “VPN_Users”).
d) Type: Choose Firewall.
e) Add members: Add users or create new users under Users.
f) Click OK.
Step 6: Apply User Group to the VPN
a) Go to VPN > IPsec Tunnels.
b) Edit the VPN tunnel you created.
c) Under the Authentication tab, select the VPN_Users group.
d) Click OK.
Step 7: Test the VPN
a) Install FortiClient on your remote device.
b) In FortiClient, configure the VPN settings:
- VPN Type: IPsec VPN.
- VPN Name: Name of your VPN.
- Remote Gateway: Enter your public IP address
- Pre-shared Key: Enter the key from Step 2g.
- Username: Enter the user you created in Step 5.
- Password: User’s password.
c) Click Connect.
Step 8: Monitor the VPN
a) Go to Monitor > IPsec Monitor to view active sessions.
Now my favourite part of NextGen Firewall CLI configuration (I know, I’m a sad individual right 😅)
When I studied for the NSE7 Network Security Architect certification, I focused on the CLI because I found it extremely useful for troubleshooting and getting detailed insights into the configuration. These steps are in the same sequence as the GUI steps that I provided 👆
Step 1: Configure Phase 1 Interface (IKE Gateway)
config vpn ipsec phase1-interface edit "RA_IPsec_VPN" set interface "wan1" set mode aggressive set peertype any set net-device enable set proposal aes256-sha256 set dhgrp 14 set psksecret "YourPresharedKey" set dpd on-idle set add-route enable next end
Step 2: Configure Phase 2 Selectors (VPN Traffic Encryption)
config vpn ipsec phase2-interface edit "RA_IPsec_VPN_Phase2" set phase1name "RA_IPsec_VPN" set proposal aes256-sha256 set dhgrp 14 set keepalive enable set src-subnet 0.0.0.0/0 set dst-subnet 192.168.1.0/24 next end
Step 3: Configure the User Group for VPN
config user group edit "VPN_Users" set member "vpnuser" next end config user local edit "vpnuser" set type password set passwd "userpassword" next end
Step 4: Configure the IP Pool for VPN Clients
config firewall ippool edit "VPN_Client_IP_Pool" set startip 10.10.10.1 set endip 10.10.10.10 set type one-to-one next end
Step 5: Configure the Firewall Policy
config firewall policy edit 1 set name "VPN_to_LAN" set srcintf "RA_IPsec_VPN" set dstintf "lan" set srcaddr "all" set dstaddr "all" set action accept set schedule always set service ALL set groups "VPN_Users" set logtraffic all next end
Step 6: Route VPN Traffic to the Internal Network
config router static edit 1 set device "RA_IPsec_VPN" set dst 10.10.10.0/24 set gateway 0.0.0.0 next end
Step 7: Verify and Monitor
diagnose vpn tunnel list get vpn ipsec tunnel summary diagnose debug application ike -1
As mentioned when I was studying for the NSE7 Network Security Architect, I found that using the CLI really helped me understand how the VPN operates at a deeper level on FortiOS. The commands for viewing the tunnel list and debugging IKE negotiations, in particular, were very useful for troubleshooting when things didn’t work as expected and boy did CLI-Ju-Jitsu help me on that brutal exam!
Until next time…✌️


Leave a comment